Courses: Located at the top of the screen. Contains all of the study guides offered by 240 Tutoring for your selected testing series.

To find a study guide, use the search bar. Click Enroll Now to add the study guide to your enrolled courses and start working on the material.
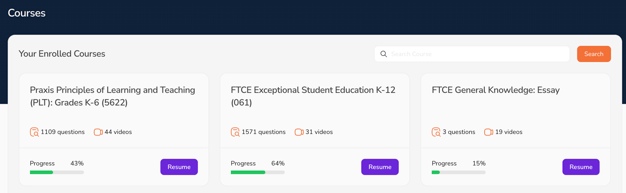

After enrolling in a study guide, you can easily find it at the top of the Courses tab under Your Enrolled Courses, where you'll see a purple Resume button. You can also access your enrolled study guides by clicking on Enrollments in your profile.
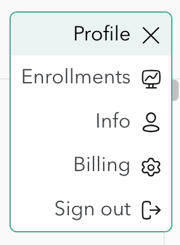
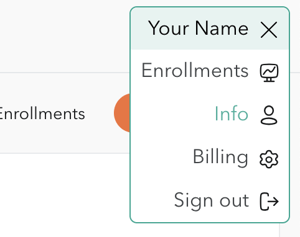
Profile: Select your name in the top right-hand corner to view your account information.
Enrollments: This shows the study guides you are currently enrolled in. Reach out to our team at helpdesk@240tutoring.com if you would like to restart or remove a study guide from your enrollments.
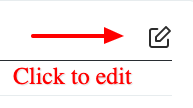
Info: Your account information is here, including your first and last name as entered, the email address associated with your account, and the date you created your account. This is where you update your email address and name if needed. Click on the pencil on the right side to edit your email address and name.
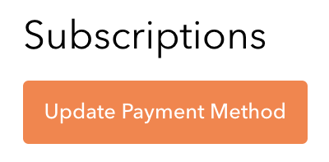
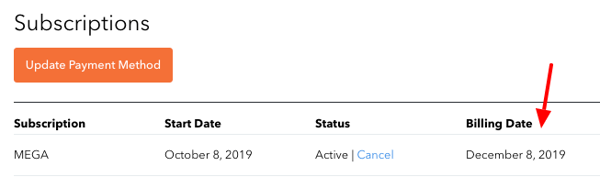
Billing: This lists your subscription, monthly billing dates, and your payment method. You can update your payment method here. It shows you when you created your account and what your next billing date is.
Status: This shows whether your account is active. To cancel your account, click the cancel button. If you cancel, you can still access your study guide until your billing date. In this case, the account renews on the 8th of the month. If you cancel before the 8th, you will have access until the 8th, and then your account will close. If you do nothing and keep your account active, you will continue to be automatically billed on the 8th of each month until you decide to cancel.
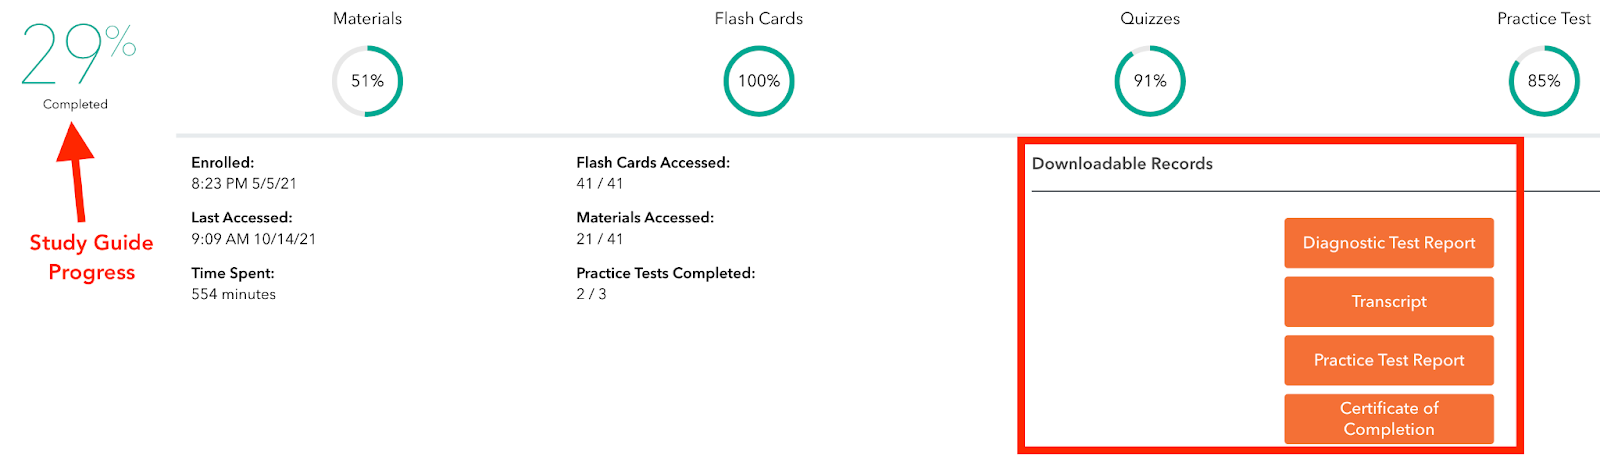
Downloadable Records: Located outside the study guide in your Enrollments tab. This is where you find your reports, including where to get a copy of your diagnostic (Plan to Pass) report, your transcript, your practice test report, and your certificate of completion for that study guide.
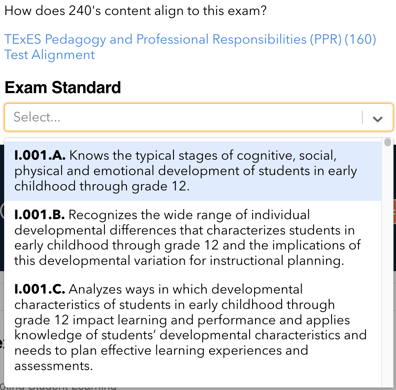
Magnifying Glass: This is located inside the study guide at the top right-hand corner. It allows you to search by competency/exam standard to see just how aligned our study guide is to the real exam.

Diagnostic test: Also known as your "Plan to Pass." Located inside your study guide under "Your Next Step" when you first start or at the top of the study guide page. Designed to create a personalized study plan so you know exactly what to study to pass your exam! This plan will help structure your studies and focus your preparation.

Concepts: Contains three tools to ensure you master the skills needed to pass your test:
- Instructional content
- Flashcards
- And quizzes.

Instructional Content: The instructional content is the backbone of our study guide. It’s the part that actually teaches you how to do everything you need to know for your test. We’ve loaded it up with instructional videos and examples to ensure you understand each concept.

Flash Cards: Key terms and definitions you'll need to know for your exam. These guys are super helpful when it comes to mastering vocabulary. See a term, quiz yourself on the definition, and flip it over to see if you’ve got it!

Quizzes: Test your knowledge of what you just learned. Whether you get a question right or wrong, we’ll give you feedback to ensure you understand why an answer is correct or incorrect.

If you don’t pass the quiz on your first try, we give you a fresh form of 10 questions, so you can be confident that you can apply your knowledge to different scenarios – not just memorize it.

Practice Tests: Quizzes are the key to unlocking your full-length practice tests. Once you’ve reviewed all the content and flashcards and passed one quiz in each concept, your first practice test will unlock. The practice test is the best indicator of how prepared you are to pass since it’s designed to replicate the real exam!

Still need help? Our wonderful team is happy to assist you. Feel free to contact them through the channels below:
- Email: helpdesk@240tutoring.com
- Phone: +1 (888)-535-2142